Keeping it Simple

As a former home and garden magazine editor I am always looking through magazines and blogs for masterful ideas for photographing Sal del Mar projects. I am a believer in the "KISS Theory" (Keep It Simple Stupid) -- as you may have already realized by looking through our blog archives.

I find that stylizing an entire room is almost easier than photographing a Sal del Mar bag.  Stylizing a photo of a single object takes just the right props to display it and of course the right lighting.

Simple as it is, I love this photograph of a Sal del Mar bag.  You can see it on Bon Boutique's blog one of our retailers in Tucson, AZ.  All the elements came together with how the embroidery of the bag becomes the most important element when it is photographed on a textured background and juxtaposed with just the right touch of a blue and white napkin. Interesting isn't it, how a single photograph, can tell our Sal del Mar story?

The Sea of Cortez and its bounty

This is a photo I took a while back at the salt ponds where Sal del Mar is harvested. The coastline is pristine and characterized by 300 estuaries and other wetlands that are key components to the rich community of plant and animal life comprising a unique ecosystem. And not far away is this beach restaurant where I took a picture of the owner and "Chef" Alejandro as he shows off the catch of the day.

Alejandro served us this platter of butterflied shrimp and white fish. It was so fresh and needed only a squirt of lime and of course a pinch or two of Sal del Mar. Alejandro tells all his customers, "I won't use any other salt".

Just in Time for Cinco de Mayo -- The Art of Salting the Glass

With Cinco del Mayo in a couple of days, there are many great margarita recipes being posted -- check out this video "How to Make a Margarita Cocktail" by one of my favorite blogs – Epicurious.

But what’s missing is how to correctly salt the margarita glass.  We at Sal del Mar pride ourselves on how to salt a margarita correctly so that the salt enhances the flavor of the tequila and integrates the flavors. Many of you may be salt-shy due to heavy salting in your past experiences.

So, here is how Sal del Mar recommends salting your margarita glass:

1. Spread Sal del Margarita* evenly on a small plate 2. Moisten the rim of your glass — just the top edge — by running a lime slice around the rim delivering a light coating of lime juice 3. Press the rim of the glass into the salt to crust the rim 4. Tap off the excess 5. Allow the salt to air-dry before filling the glass — this ensures that the salt lightly flakes off with each sip

Other tips: •   Use a martini glass instead of the bowl-sized glasses served in some bars that are so big that they require a straw to drink the margarita because they are too heavy to lift. I call margaritas made this way the “new martini.”

•   Salt just half of the glass rim so that you don't have to have a salted rim every sip.

•   Use a cocktail shaker and mix small amounts of margaritas. The shaken method of making a margarita gives it a purer taste over the taste of sweet slushy margaritas. Shake for about 10 seconds to melt the ice into the drink. Strain into your glass.

•   Ingredients matter. Margaritas are best made with 100% pure agave blanco tequila; fresh-squeezed lime juice and the orange sweetness of Cointreau. There is a growing trend of using boutique aged tequilas.

•   Experiment with adding other flavors to the salt. For a mango margarita, I finely chop mint leaves and mix it in the Sal de Margarita.

Be sure to use Sal del Margarita and let the crisp, salty taste complement the lime and the tequila ingredients while delivering a light crunch as you sip from the glass. Notice how Sal de Margarita quickly dissolves on the palate? Be sure to see my blog archive “marvelous margaritas” for more ideas.

Our New Arrival

I think I now know what fashion designers go through before they show a new line each season. Well, it might not be quite as intense, but I certainly experienced the anticipation and excitement while creating our latest bag design which we named the "Oyster Shell."

I love the design. I was inspired when I Googled “Sea of Cortez Pearl” and found that the Sea of Cortez is famous for its pearls. In fact, the Cortez Pearl was discovered by Spanish Conqueror Hernán Cortez on one of his first expeditions in 1533 (click here if you want to learn more).

I give our embroiderers in the village of Sabinito most of the credit because their intricate craftsmanship gave the design something that couldn't be drawn on paper... life and beauty.

The Oyster Shell bag is available through our website, select stores and markets throughout the U.S. and Mexico.

Embroidery Ambassador Frida Kahlo

Frida Kahlo pic

Frida Kahlo is an artist whose work I admire, but I am also fascinated by her unique sense of style. She wore fashion, not of the time, but glorious costumes from the Tehuana people that enhanced her exotic good looks. So, when I heard that there was an exhibition featuring Frida Kahlo, Through the Lens of Nickolas Muray, at the Tucson Museum of Art I attended with gusto. Muray’s collection documents Frida over a 10 year period and it was noted that Muray photographed her more frequently than any other person.The reason I am posting the Frida Kahlo exhibition in my blog is that the photographs capture the beauty of the Tehuana dresses which were sewn with elaborate embroidery. It occurs to me that the traditional costumes such as the ones that Frida wore are disappearing but there is still the tradition of the women in villages throughout Mexico who embroider like the women of Sabinito who embroider our Sal del Mar bags. Their skill and artistry is truly a work of art.

It is rewarding to see the tradition of embroidery continue... and wait until you see the new Sal del Mar bag design we are adding to the collection  -- just completed by our embroiderers and soon to be released in retail stores and on our website!

Even marmalade

With citrus in abundance I wanted to make marmalade with the small oranges available in Mexico, called “naranjita.” I called my friend Linda Poverman who I know makes all kinds of marmalades with the citrus from the trees that line the streets in front of her house in Tucson,Arizona. She emailed me the recipe below – Linda’s recipe for grapefruit marmalade since naranjitas are not found everywhere) and then a second email that said “and of course a pinch of SaldelMar."

It occurred to me that adding salt to a marmalade isn’t what you might expect. In fact, it seems magical to discover how salt works with different flavor profiles – such as a citrus marmalade. Salt is a flavor amplifier so it does make sense that you would add it to even a marmalade. And while Sal del Mar does have a distinctive flavor of its own, it shouldn’t really be tasted in the food being served. Instead, you should add just enough to bring out the flavor of the food you are preparing. This revelation about using salt has inspired me on to write more about salt in the coming year. Let me know how you like it!

Here’s the recipe from our friend Linda Poverman using grapefruit:

1. With a vegetable peeler, peel only the outer yellow layer from the grapefruit and finely chop.

2. Juice the grapefruit or separate the wedges and remove the seeds.

3. Try to include as much of the pulp as possible and have a little extra grapefruit juice ready on the side if the mixture seems too thicken as it cooks.

4. Put the peel and the pulp in a pot and let it boil for 20 minutes, watching to make sure it doesn't get dry and adding more juice if necessary. Measure the peel/pulp after the 20 minutes of cooking and add the same amount of sugar to the pot.

5. Add a pinch or two of Sal del Mar 6. Cook at a rolling boil for another 20 minutes, keeping an eye on the mixture and stirring now and then. 7. Have jars ready to fill while the mixture is still hot.

Holiday Time in Mexico

Our first Sal del Mar “tasting” held in Mexico was a big hit. It took place at the Sagitario gift shop in San Carlos, Sonora, a Mexican port town on the Sea of Cortez, near where we harvest our flavorful Sal del Mar sea salt.


The best part of the Sagitario “tasting” was when Vivian Arellano-Bennett brought us a box of Chocolate Holiday Bark candy she made using Sal del Mar as “snow.” Her recipe is an interpretation of an Ina Garten recipe and it was amazing. I must admit, I was a bit wary... even though salted chocolates and carmel are very popular, I just wasn’t sure how I would like chocolate and salt together. But what I discovered is that Sal del Mar brings out a new dimension of flavor in chocolate. It's an easy recipe and a way to pair Sal del Mar with a box of homemade chocolates for the holidays. In fact, the Editor at House Beautiful chose Sal del Mar as one of her favorite gourmet gifts to give this holiday season!

Here's the recipe...

Chocolate Holiday Bark with Sal del Mar Snow Adapted from an Ina Garten 2007 recipe. Prep time: 15 min Inactive Prep time: 2 hrs Cook Time: 10 min Serves: 24 pieces

Ingredients:  8 ounces very good semisweet chocolate, finely chopped 8 ounces very good bittersweet chocolate, finely chopped 1 cup whole pistachios, chopped 1/2 cup dried cranberries, chopped Sal del Mar, to taste and sight

Directions:  On parchment paper, using a ruler and a pencil, draw a 9 by 10-inch rectangle on the paper. Turn the paper face down on a baking sheet pan. Melt the two chocolates in a heatproof bowl, metal or glass, set over a pan of simmering water. Pour the melted chocolate over the paper and spread to form a rectangle, using the outline. Sprinkle the nuts and cranberries over the chocolate. Finish by sprinkling Sal del Mar over the chocolate, nuts and cranberries.  Set aside for 2 hours until firm. Cut the bark in 1 x 3” pieces and serve at room temperature.

Helpful hints: The water in the pan should not be boiling under the bowl. Keep the water just simmering. Chocolate does not like oil or water.  Make certain your bowl is clean and dry.  When you remove the bowl with the melted chocolate from the pan of simmering water, give the under side of the bowl a quick wipe with a dry cloth or paper towel so it doesn't drip onto your paper-lined pan when you are pouring out the chocolate.

Not Your Traditional Turkey

I’ve been going through recipes trying to decide on a Thanksgiving turkey that isn't “traditional." I remembered one of my favorites from my days as the "Southwest Homes" Editor of Tucson Lifestyle magazine. It was a recipe by Jeanie Neubauer from her Santa Cruz Chili & Spice Co. Cookbook. In addition to writing several cookbooks, Jeanie is the owner of the Santa Cruz Chili Company in Arizona. We did a photo shoot at her ranch in Tumacacori and then Jeanie made it especially memorable by serving our photo crew her "Turkey Santa Cruz." The crew didn't always get such treatment, but Jeanie as I have learned is a master hostess. As I recall, Jeanie had other Thanksgiving dishes with the turkey even though it was probably August since we shot articles at least three months in advance. You won't be disappointed!

Turkey Santa Cruz

by Jeanie Neubauer, owner of the Santa Cruz Chili Company

1 turkey, 12-15 lbs

1 tbs softened butter

2 tbs Santa Cruz Chili Paste

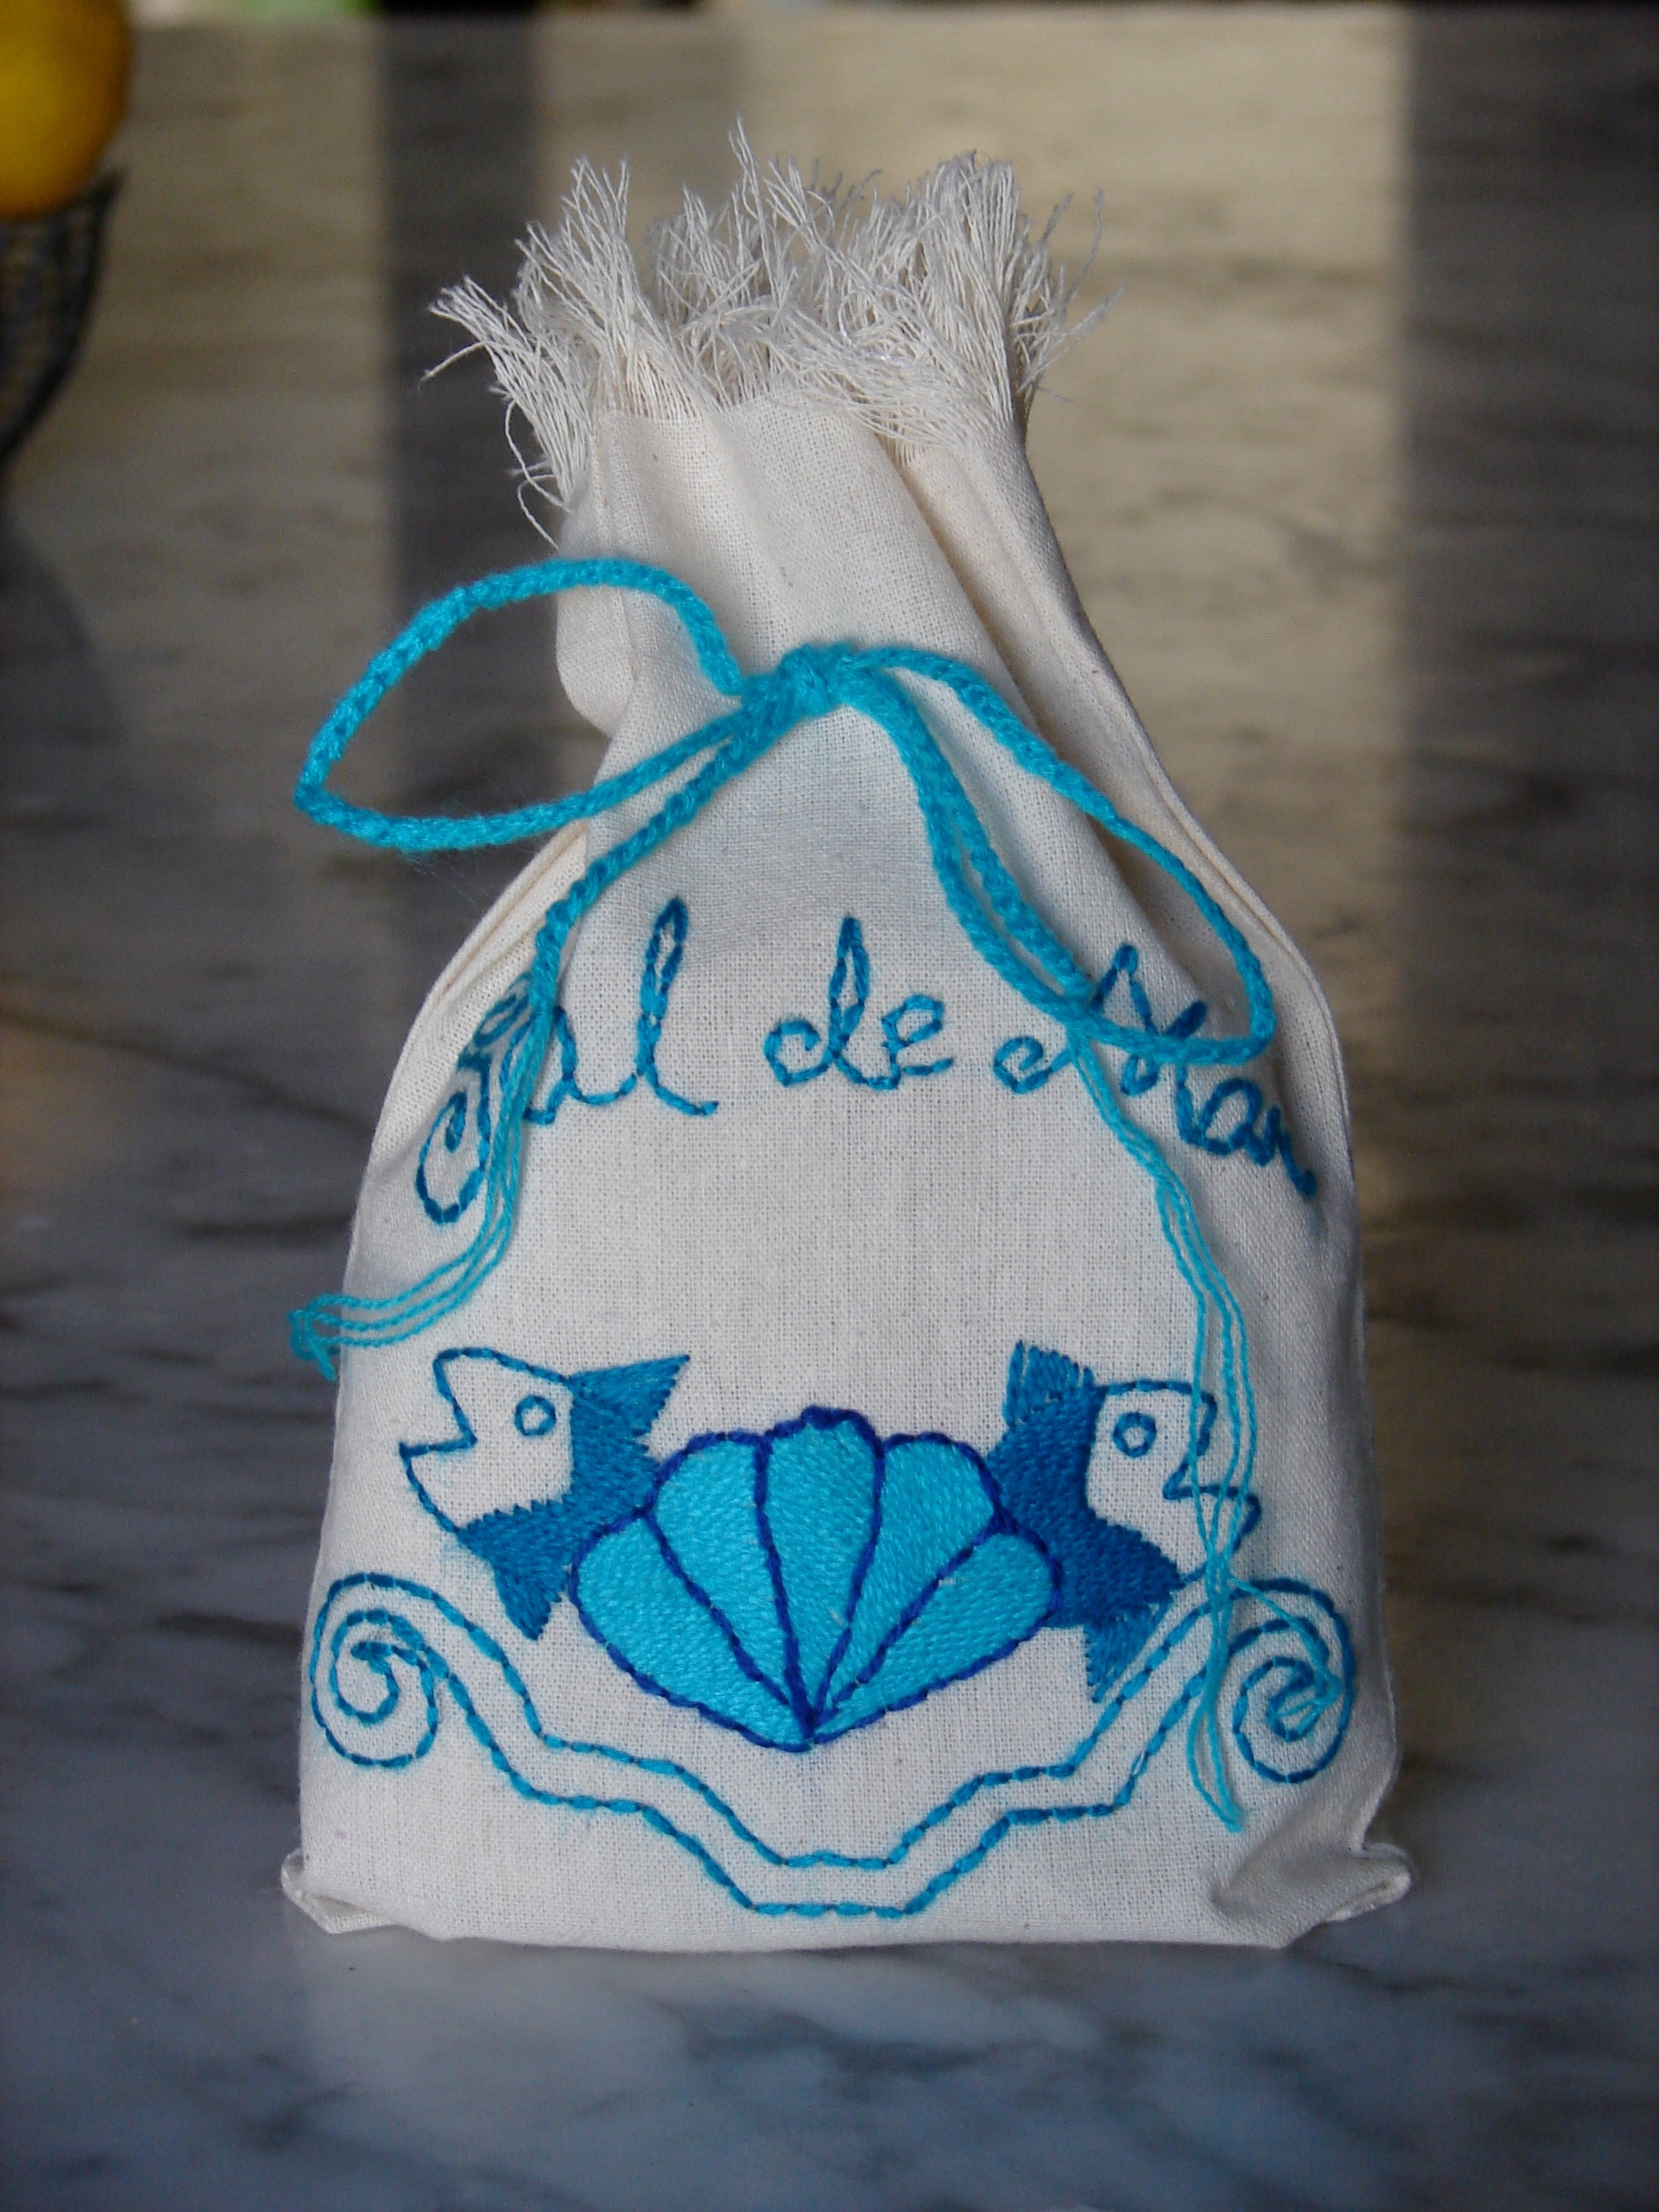
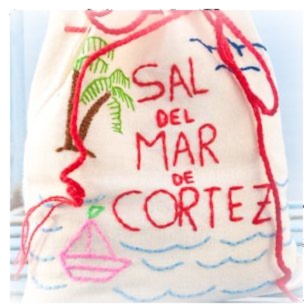
Sal delMar gourmet sea salt

Rinse and dry turkey. Season outside of turkey generously with Sal del Mar and sprinkle with pepper. Blend butter and chili paste then gently rub over turkey, covering evenly.  Set turkey in refrigerator until ready to stuff.

Stuffing

1 cup diced onion

1 cup diced celery

2 cloves garlic, minced

1 tbs butter

3 tbs Santa Cruz Chili Powder

1/2 cup chorizo

4 cups stale cornbread

3 eggs

1/2 cup water, more if needed

To make stuffing, sauté onions, celery and garlic in butter over medium heat for three minutes.  Add chili powder and chorizo and cook over low heat for 10 minutes until flavors blend and chorizo is cooked. In a large bowl, combine cornbread with eggs and mix well. Blend in onion mixture and add water as needed if stuffing is too dry.

Loosely stuff turkey and sew closed. Bake at 325○F according to directions, usually 1/2 hour per pound. Start turkey in open roasting pan on a rack, breast down. Turn turkey breast side up when 3/4 done. If breast begins to get too brown, cover loosely with foil. Turkey should be golden brown with a crisp, rosy skin when done.